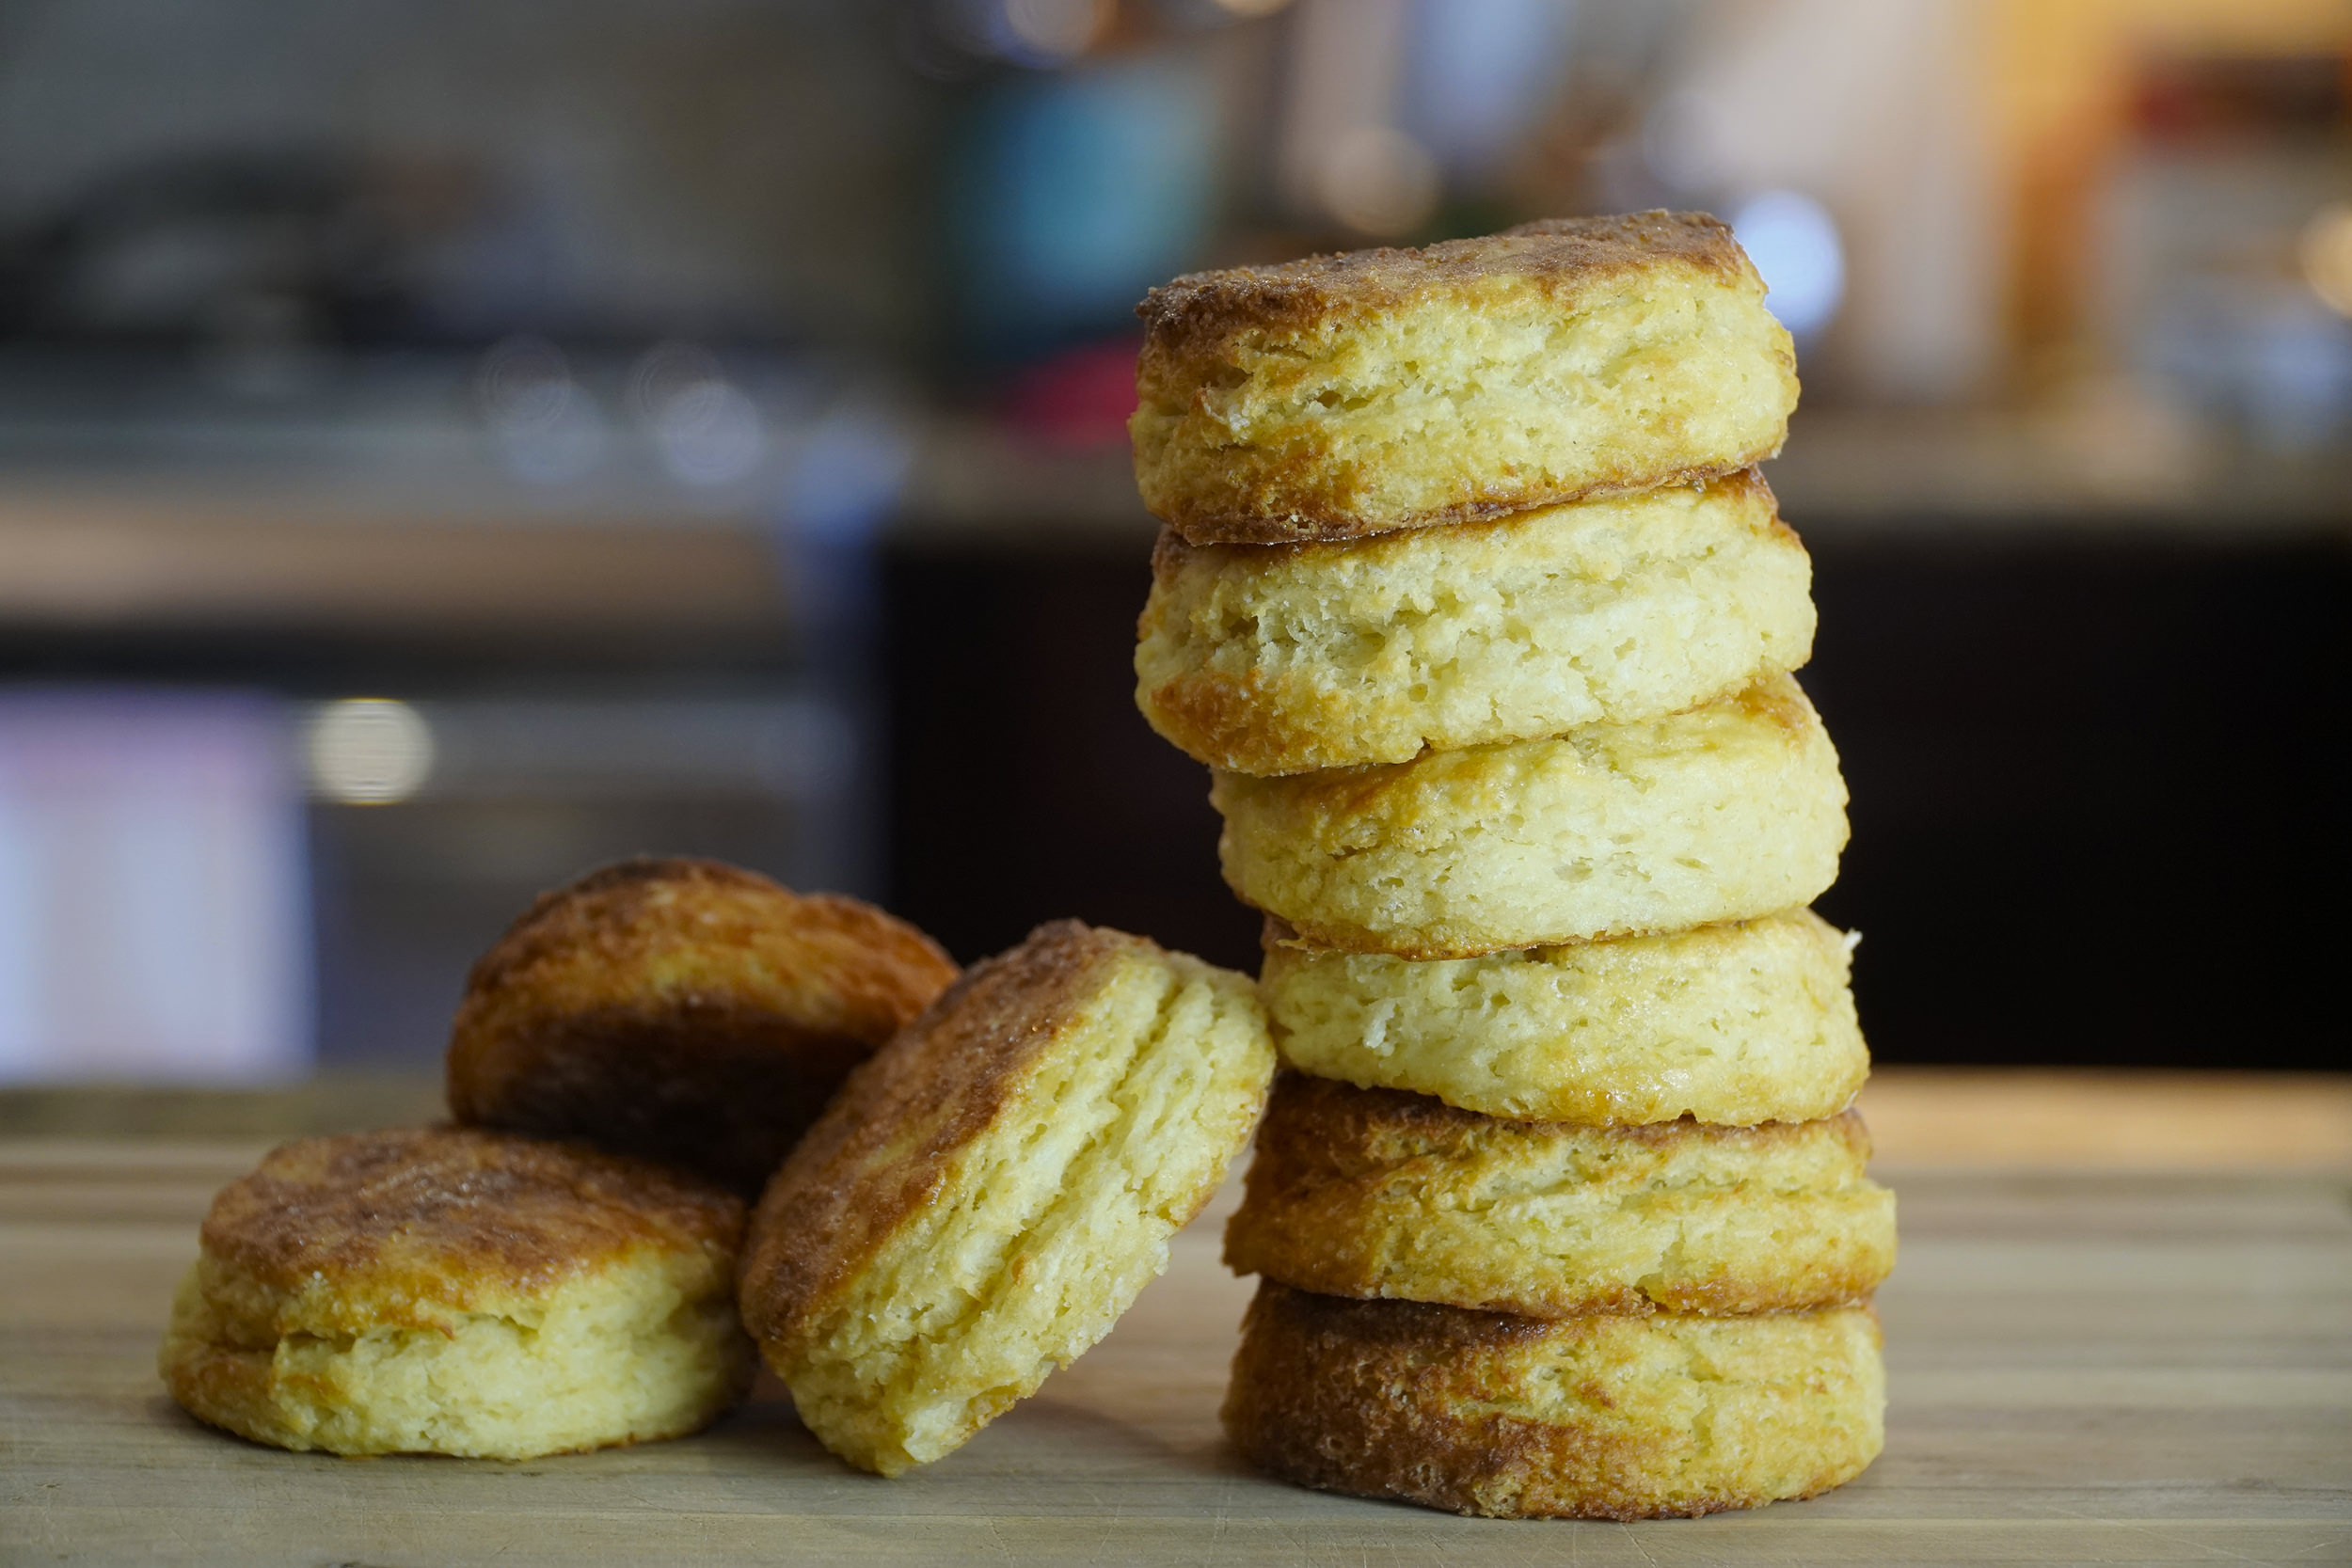
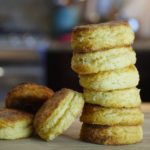
Ah, there’s nothing quite like biting into a warm and flaky biscuit on a lazy Sunday morning! The crunch of the crispy crust gives way to a tender, fluffy interior that just melts in your mouth. It’s a simple yet satisfying comfort food that always hits the spot.
But what if I told you that there’s a secret ingredient that can take your biscuits to the next level? Introducing: the humble potato! Yes, adding potato to your biscuit dough may sound strange, but trust me, it works wonders.
You see, the starch in the potatoes acts as a binder, creating a tender and chewy texture without the need for additional fat. This means that you can enjoy a biscuit that’s just as delicious as the original, but with a little something extra in terms of texture. And the best part is, you won’t even be able to taste the potato – it just enhances the overall experience.
So next time you whip up a batch of biscuits, why not give this secret ingredient a try? You’ll be amazed at how it elevates the classic dish to new heights of deliciousness. Enjoy with a pat of butter and a hot cup of coffee, and bask in the joy of hot and flaky biscuits on a Sunday morning!
Potato Biscuits
- Baking Sheet
- Biscuit Cutter
- Potato Ricer
- Bench Scraper
- Pastry brush
- Whisk
- 1 cup Buttermilk
- 1 tbsp Kosher Salt
- 2½ cup all purpose flour
- 2 medium yellow potatoes (Peeled & Diced)
- 8 tbsp Butter (Frozen )
- 1 tbsp Baking Powder
- ½ tsp Baking Soda
-
Preheat oven to 450 °F
-
Peel and dice potatoes. No need to be exact here, but you want potatoes to be in uniform chunks to help them cook evenly. Place potatoes into a small pot, fill with water, not forgetting to salt the water. Bring water to boil and cook potatoes until fork tender, approximately 7-9 minutes.

-
Drain potatoes and move immediately to the ricer. Rice potatoes in a thin even layer on a baking sheet. The thin layer helps cool potatoes faster and help maintain the fluffy texture created by the ricer. Move sheet of potatoes to freezer.

-
Combine all dry ingriedients – flour, salt, baking soda, baking powder, and sugar. Whisk to combine.
-
Using the larger openings on a cheese grater, begin grating the frozen butter into the dry mixture, moving fast to ensure butter remains as cold as possible.

-
Combine frozen butter and flour, gently pinching butter into flour as you combine. The butter and flour should look a little shaggy/chunky before proceeding. Do not over-handle, as it is important to keep butter cold. This step should take no more than a minute.

-
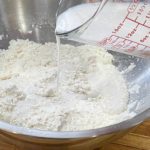
Add buttermilk and cooled potatoes to the dry mixture, gently folding to combine. Mixture will be dry and shaggy, but its important not to overmix the dough. You should fold approximately 8 times before moving to the next step.

-
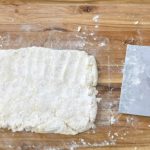
Dump nearly combined mixture onto a lightly floured surface. Using a bench scraper and a light tough, gently pad your dough into a rough square shape.

-
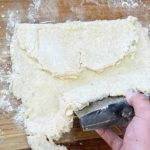
In order to create layers, you will now begin gently rolling down and folding back on top of itself. This processing is called lamenting and is essential to achieving the light texture and layers desired within your biscuits. Working quickly, roll out the dough into a 12X12 inch square, then begin folding the dough back on itself as if you were folding a letter.

-
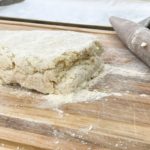
Repeat the lamenting step 4-5 times until dough begins to feel more consistent in texture and hydrated. After the final fold, roll dough into a 10×10 inch square, where the dough is approximately ¾ inch thick.

-
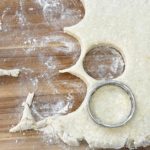
Using a biscuit cutter – or cup, or can, or anything that gives you the desired size – begin cutting biscuits and placing on a parchment lined cookie sheet.

-
Whisk one egg thoroughly. Then using a pasty brush, coat the outside of your biscuits in the egg wash.

-
Place biscuits into the pre-heated oven for 16-18 minutes. Each oven is different, so continue cooking until desired brownness is achieved
-
Slather with butter and jam. Eat. Take a long nap.
Did you make this recipe?
Please let me know how it turned out for you! Leave a comment below and tag @caseyvsfood on Instagram and hashtag it #caseyvsfood

